Skip to content
Paritosh Gupta
Menu
Close
Home
Blog
Systems Thinking
About
Image credits: waitbutwhy.com
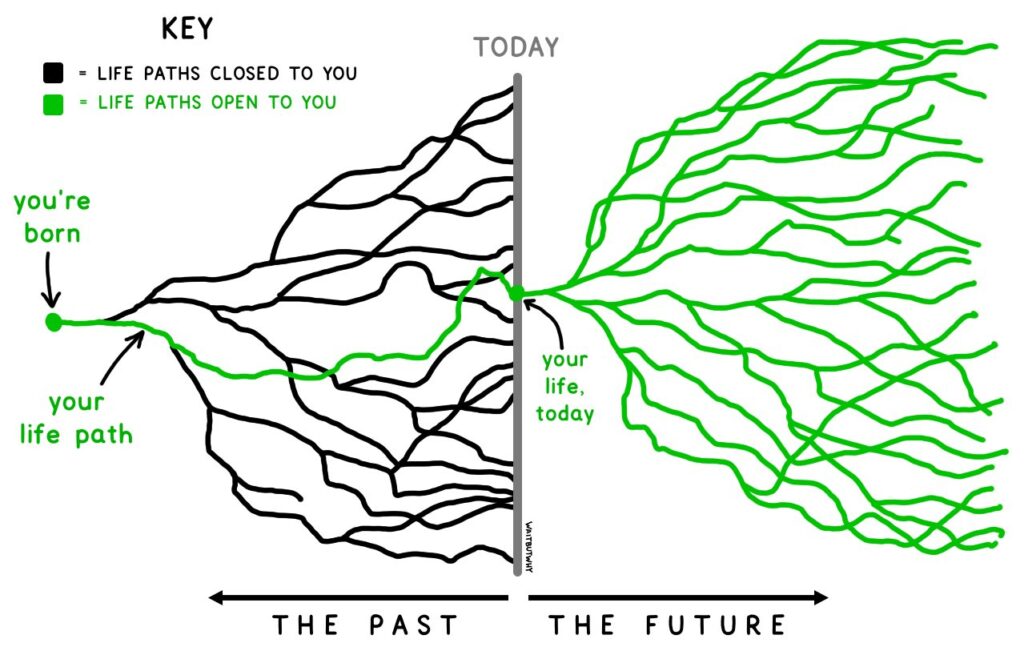 Image credits: waitbutwhy.com